 English
 Arabic
The Ultimate Guide: How to Create 3D Models for Printing (Beginner-Friendly)


In a world where you can transform digital designs into physical objects, learning how to create 3D models for printing has never been more accessible or exciting. Whether you're looking to prototype a product, create custom household items, or explore a new creative outlet, 3D modeling for printing opens up endless possibilities. This comprehensive guide will walk you through everything you need to know to start turning your ideas into tangible objects.
Understanding the Basics: From Digital Design to Physical Object
What is 3D Modeling?
3D modeling is the process of creating a mathematical representation of a three-dimensional object using specialized software. When specifically modeling for 3D printing, you're crafting digital designs that will eventually become physical objects through an additive manufacturing process, where material is deposited layer by layer.
Why Design Specifically for 3D Printing?
Creating 3D models for printing differs significantly from modeling for visual media like games or animations. In visual-only 3D modeling, only the appearance matters. However, when designing for 3D printing:
- Models must be "watertight" with no holes or gaps
- Proper wall thickness is crucial for structural integrity
- Physical constraints like gravity and material properties must be considered
- Models need appropriate supports for overhanging elements
Overview of the Workflow: Design -> Prepare -> Print
The 3D printing process follows three main stages:
- Design Phase: Creating your 3D model in modeling software
- Preparation Phase: Checking the model for printability and converting it to printer instructions
- Printing Phase: The actual fabrication of your physical object
For this guide, we'll focus on the first two phases, which involve the critical modeling skills needed before you ever hit the "print" button.
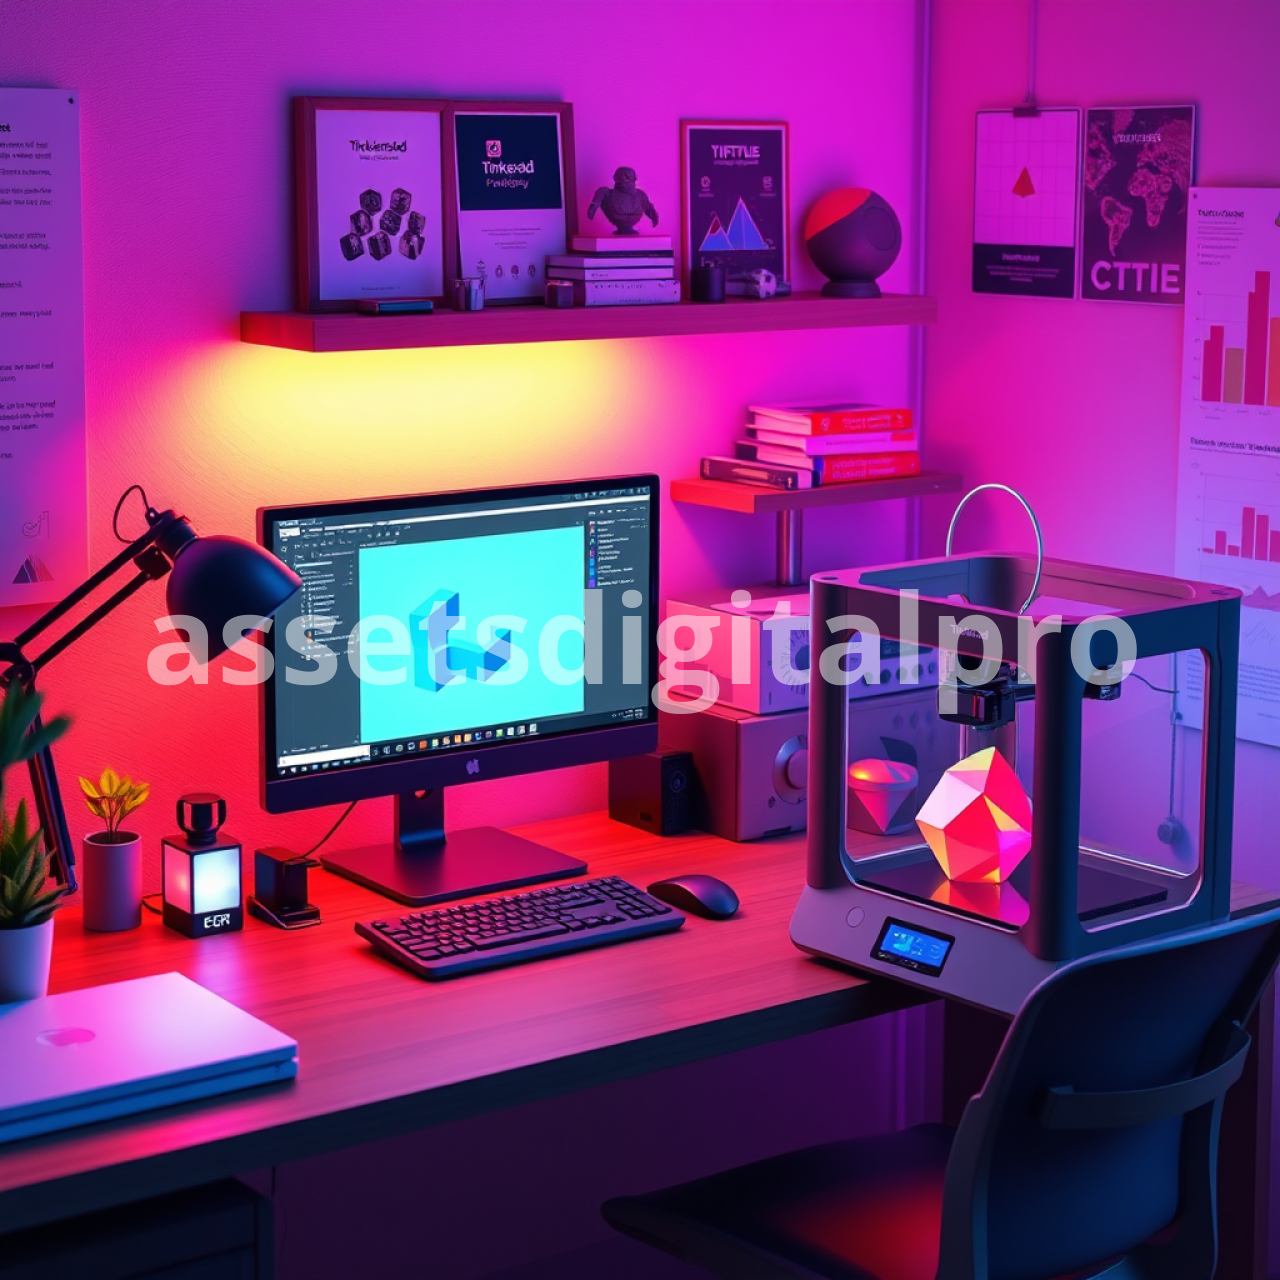
Choosing Your Weapon: Selecting the Right 3D Modeling Software
Finding the best software for 3D printing models depends on your experience level, specific needs, and budget. Let's explore your options:
Factors to Consider
| Factor | Importance |
|---|---|
| Ease of Use | Critical for beginners to avoid frustration |
| Cost | Free options exist for all skill levels |
| Features | Match to your specific modeling needs |
| Operating System | Ensure compatibility with your computer |
| Learning Resources | Available tutorials and community support |
Top Picks for Beginners
Tinkercad
Pros:
- Web-based (works on any computer with a browser)
- Completely free
- Incredibly intuitive interface
- Perfect for simple geometric designs
- No download or installation required
Cons:
- Limited for complex organic shapes
- Less precise than professional CAD software
Getting Started: Visit Tinkercad.com and create a free account to begin designing immediately.
Fusion 360
Pros:
- Professional-grade parametric modeling capabilities
- Free for hobbyists, startups, and educational use
- Powerful features like precise measurements and constraints
- Built-in simulation tools
Cons:
- Steeper learning curve than Tinkercad
- Requires decent computer specifications
- Full version requires subscription after trial period
Getting Started: Download from Autodesk's website and activate with the free personal use license.
Blender
Pros:
- Completely free and open-source
- Extremely powerful and versatile
- Excellent for organic shapes and artistic models
- Extensive community support
Cons:
- Steeper learning curve
- Interface can initially feel overwhelming
- Less precision-oriented than dedicated CAD software
Getting Started: Download from Blender.org and explore beginner tutorials focused specifically on 3D printing.
Other Notable Options
- SketchUp Free: Web-based, user-friendly interface, good for architectural models
- ZBrush Core Mini: Free version of the popular sculpting software, ideal for organic shapes
- FreeCAD: Open-source parametric modeler, good for mechanical parts
- Meshmixer: Free tool for model modification and repair
"The best modeling software is the one you'll actually learn to use. Start simple and expand your skills gradually." - 3D Printing Community Wisdom
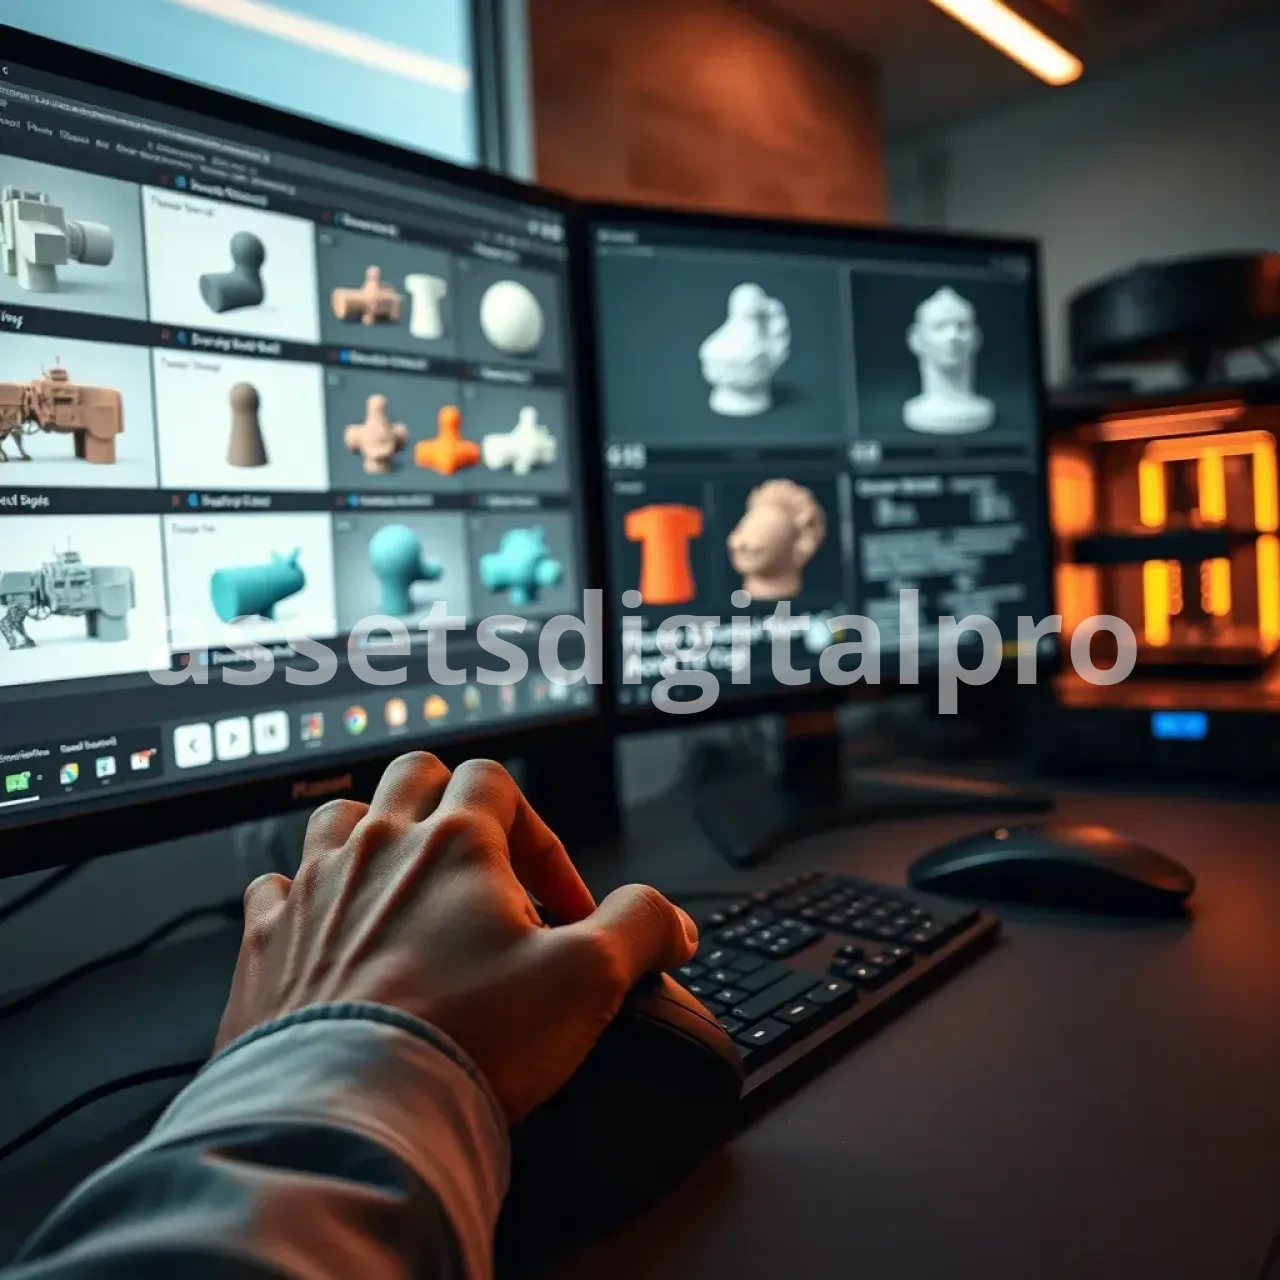
The Modeling Process: Bringing Your Idea to Life
Let's use Tinkercad as our primary example since it's the most beginner-friendly option for 3D modeling for beginners.
Getting Started: Interface Basics
When you first open Tinkercad, you'll see:
- Workplane: The grid where you'll build your model
- Shape Panel: Basic shapes you can use (cubes, cylinders, etc.)
- Tools Panel: Functions like align, mirror, and group
- Properties Panel: For adjusting dimensions and other properties
Basic Modeling Techniques
Adding & Manipulating Shapes
- Drag shapes from the panel onto your workplane
- Use the corner handles to resize
- Use the arrow tools to move in X, Y, Z dimensions
- Use the rotate tool to change orientation
Combining Shapes (Group/Union)
- Position multiple shapes where you want them
- Select all shapes you want to combine
- Click "Group" in the top menu
- The shapes now act as a single unit
Creating Holes (Subtract/Difference)
- Position your main shape
- Add the shape you want to use to create a hole
- Set the hole shape to "Hole" in the inspector panel (it turns transparent)
- Select both shapes and click "Group"
- The hole shape cuts through your main shape
Using Rulers & Align Tools for Precision
- Turn on the ruler to measure distances accurately
- Use the align tool to perfectly line up different elements
- Use the workplane tool to create reference planes for complex models
Simple Project Walkthrough: Designing a Basic Keychain
- Create a flat base shape (rectangle or custom shape)
- Add a small cylinder near one edge
- Set the cylinder to "Hole"
- Group them to create the keyring hole
- Add text or decorative elements
- Ensure all elements are at least 2mm thick for durability
Critical Step: Designing for Printability
This section focuses on the "for printing" part of creating 3D models for printing - arguably the most important consideration.
Why This Matters: Avoiding Print Failures
Designing for printability isn't just about aesthetics—it's about creating models that will successfully transform from digital to physical form. Common print failures include:
- Models that collapse during printing
- Parts that break easily after printing
- Prints that detach from the build plate
- Details that don't resolve correctly
- Warping and layer separation
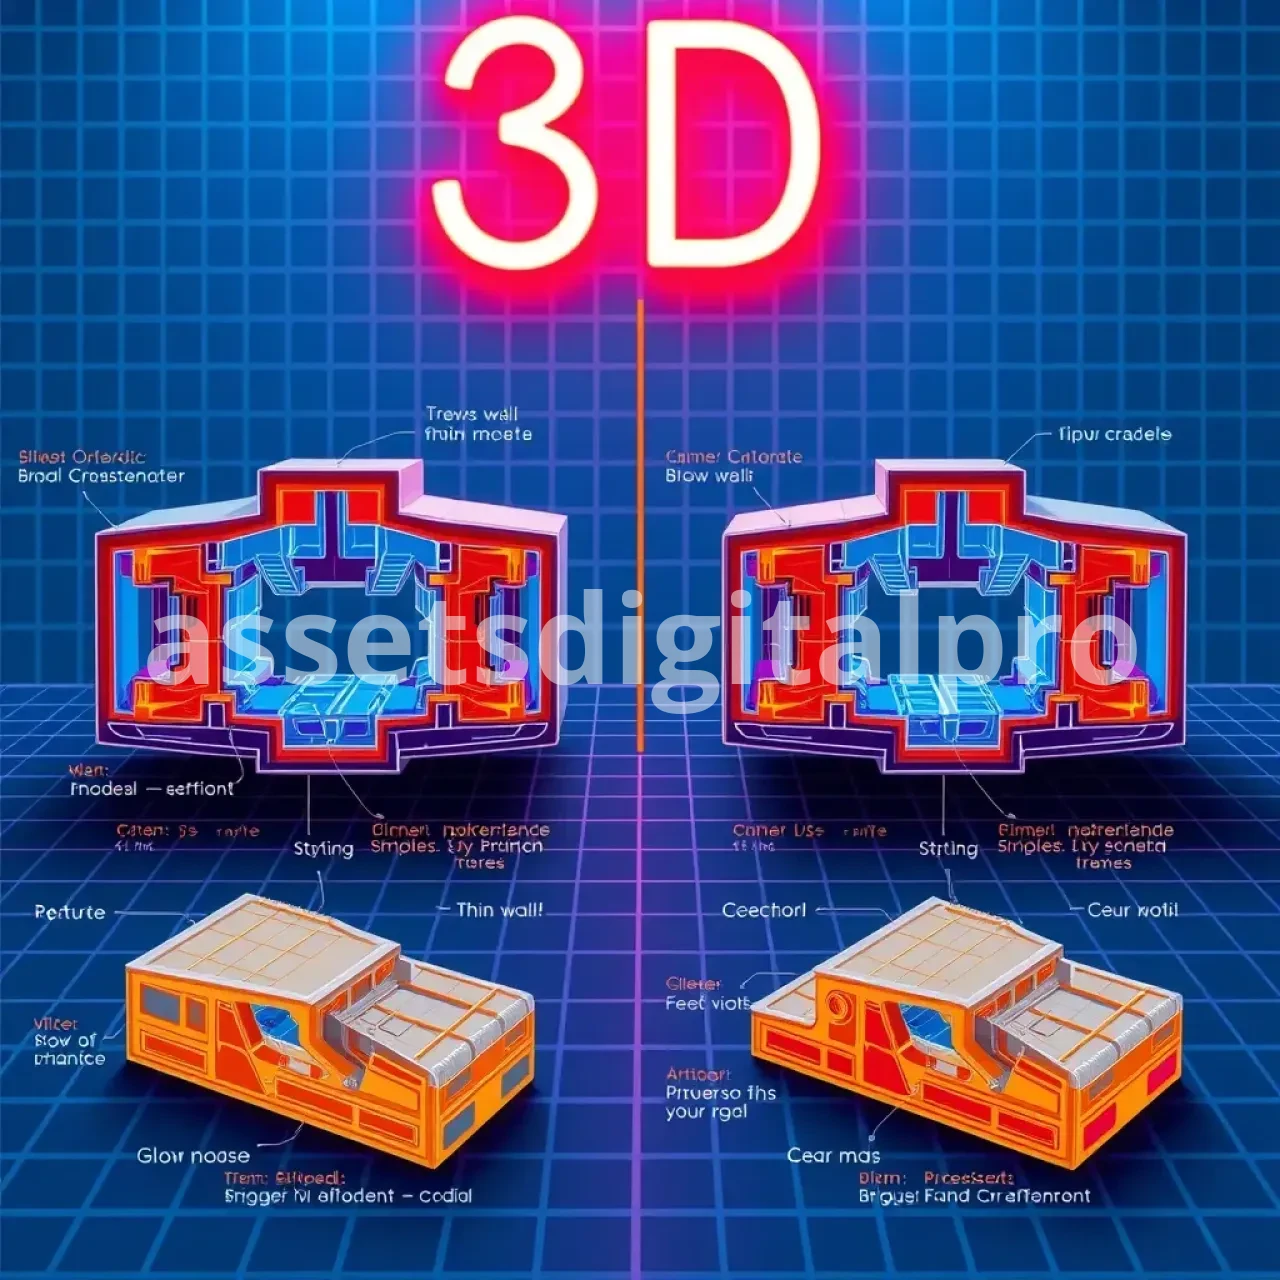
Key Design Rules Explained
Watertight / Manifold Models
A 3D model must be completely "sealed" without any unintended holes or gaps in the mesh. Non-manifold models (with gaps) won't print correctly.
Quick Check: Most slicing software will highlight problems. In Tinkercad, use the "Solid Inspector" extension.
Wall Thickness
Every part of your model needs adequate thickness:
- Minimum wall thickness: typically 0.8mm-1.2mm (depending on printer)
- Recommended thickness for durability: 2mm+ for handled items
- Be cautious with thin protruding features
Overhangs & Support Structures
3D printers can't print in mid-air:
- The 45-degree rule: Angles less than 45° from horizontal typically need supports
- Design to minimize overhangs when possible
- Consider splitting complex models into printable parts
Bridging Capabilities
Bridging is when the printer creates material spanning two points:
- Keep bridges under 5mm for PLA (less for other materials)
- Design with bridge direction in mind
Model Orientation Considerations
How your model is oriented affects strength and print quality:
- Layer lines should run perpendicular to stress directions
- Important details should not be on the bottom surface
- Minimize support material needs through orientation
-
Tolerances
For parts that need to fit together:
- Add 0.1-0.3mm clearance between interlocking parts
- Test with small prototypes before printing large assemblies
- Remember that holes often print slightly smaller than designed
Leveling the Base
A flat, stable base improves print success:
- Ensure the bottom of your model is perfectly flat
- Add a raft or brim in your slicer for better adhesion
- Consider adding a chamfer to bottom edges to prevent warping
Tools for Checking Your Model
Before sending your model to print, use these tools to verify printability:
- Built-in software checks: Many modeling programs have analysis tools
- Meshmixer: Free software with excellent analysis and repair tools
- Netfabb Basic: Specialized software for fixing mesh problems
- Online services: Like Microsoft's 3D Model Repair service
Preparing for the Printer: Exporting and Slicing
Understanding File Formats
Several file types are used in 3D printing, but these are the most common:
| Format | Pros | Cons | Best For |
|---|---|---|---|
| STL | Universal compatibility | No color/material info | Most printing scenarios |
| OBJ | Includes colors and textures | Larger file size | Full-color prints |
| 3MF | Modern, includes print settings | Less widespread support | Advanced printing setups |
Exporting Your Model
From Tinkercad:
- Select your completed design
- Click "Export" in the top right
- Select "STL" format
- Click "Download" and save the file
From Fusion 360:
- Right-click on your body or component
- Select "Save As STL"
- Choose resolution settings (higher for more detail)
- Select save location
What is a Slicer?
A slicer is software that translates your 3D model into specific instructions (G-code) that your 3D printer can understand. Think of it as the interpreter between your design and your printer:
- It cuts your model into horizontal layers (slices)
- Calculates tool paths for each layer
- Determines where support material is needed
- Sets printing parameters like speed and temperature
Popular Slicing Software
- Ultimaker Cura: Free, user-friendly, works with most printers
- PrusaSlicer: Excellent features, particularly optimized for Prusa printers
- Simplify3D: Premium option with advanced features ($)
- Chitubox: Specialized for resin printers
Key Slicer Settings Overview
While detailed slicer settings deserve their own guide, here are the fundamentals:
- Layer Height: Determines detail level and print time (0.1-0.3mm typical)
- Infill: Internal structure density (10-20% for decorative, 50%+ for functional)
- Supports: Generated structures to hold up overhangs
- Adhesion: Options like brims and rafts to help models stick to the build plate
- Print Speed: Slower = better quality, faster = quicker prints
Next Steps & Troubleshooting
Common Modeling Mistakes & How to Fix Them
| Problem | Solution |
|---|---|
| Non-manifold edges | Use repair tools in Meshmixer or Netfabb |
| Too-thin walls | Check minimum thickness with analysis tools |
| Unprintable overhangs | Redesign or add supports in slicer |
| Poor base adhesion | Add brim/raft or redesign base |
| Features too small | Scale up or simplify detailed elements |
Where to Find Pre-Made Models
Learning by example is powerful. Explore these repositories of free 3D models:
- Thingiverse: Largest collection of free 3D printable models
- Printables: Growing community with quality models
- MyMiniFactory: Curated, tested printable models
- Cults3D: Mix of free and premium models
Continuous Learning Resources
The 3D modeling for beginners journey never really ends. Continue developing your skills with:
- YouTube channels like "Maker's Muse" and "3D Printing Nerd"
- Online courses on Udemy or LinkedIn Learning
- Reddit communities like r/3Dprinting and r/functionalprint
- Local makerspace workshops and meetups
Quick Reference: Glossary of Terms
- CAD: Computer-Aided Design, the software used to create precise models
- STL: Standard Tessellation Language, common 3D model file format
- Slicer: Software that converts 3D models into printer instructions
- G-code: The machine language instructions for 3D printers
- Overhang: Part of a model that extends horizontally without support
- Infill: Internal structure pattern and density inside a print
- Support: Temporary structures built to support overhangs during printing
- Manifold: A "watertight" model with no mesh errors
- Raft: A thick base printed under your model for better adhesion
- Brim: A single-layer extension around your model's base for adhesion
Conclusion
Creating 3D models for printing combines technical knowledge with creative vision. By understanding the fundamentals covered in this guide, you're well on your way to turning your ideas into physical reality. Remember to:
- Start with simple designs and gradually increase complexity
- Always design with printability in mind
- Test and iterate—3D printing is a learning process
- Join communities to share knowledge and get feedback
The most important advice? Just start creating. Begin with basic shapes, combine them in interesting ways, and learn from each print. Before long, you'll develop an intuitive understanding of what works and what doesn't in the fascinating world of 3D modeling for printing.
Ready to start your 3D modeling journey? Download our free "3D Printing Model Checklist" to ensure every design you create is optimized for successful printing. Share your first model with our community using #MyFirst3DModel!


