 English
 Arabic
Edit STL Files: The Definitive 2025 Guide (Tools & Techniques)


Quick Answer: Editing STL files involves using specialized software to modify the 3D mesh, with popular free options including Meshmixer and Blender, and online tools like Tinkercad for simpler tasks. Whether you need to repair errors, scale models, or add custom features, the right tools can transform your 3D printing experience.
Are you tired of downloading STL files only to discover they won't print properly? Or perhaps you need to resize a model but don't know where to start? You're not alone. Nearly 60% of 3D printing enthusiasts encounter STL file issues that require editing before successful printing.
This comprehensive guide will walk you through everything you need to know about how to edit STL files, from choosing the right software to performing complex modifications. By the end, you'll have the confidence to tackle any STL editing challenge.
Table of Contents
- Understanding STL Files
- Why Edit STL Files?
- Choosing Your STL Editor
- Top STL Editing Software
- Step-by-Step Tutorials
- Tips for Successful STL Editing
- Troubleshooting Common Problems
- Frequently Asked Questions
Understanding STL Files
STL (Stereolithography) files are the standard format for 3D printing, containing information about the surface geometry of 3D objects. Unlike CAD files that store mathematical descriptions of shapes, STL files represent objects as a collection of triangular faces (a mesh).
This mesh-based nature makes STL files both universal and challenging to edit. While any 3D printer can read them, modifying the triangular mesh requires specialized tools and techniques.
Key limitations of STL files:
- No parametric data (you can't easily change dimensions)
- Mesh-based structure can develop errors
- Limited editing capabilities compared to native CAD formats

Why Edit STL Files?
Understanding when and why to modify STL files is crucial for successful 3D printing. Here are the most common scenarios:
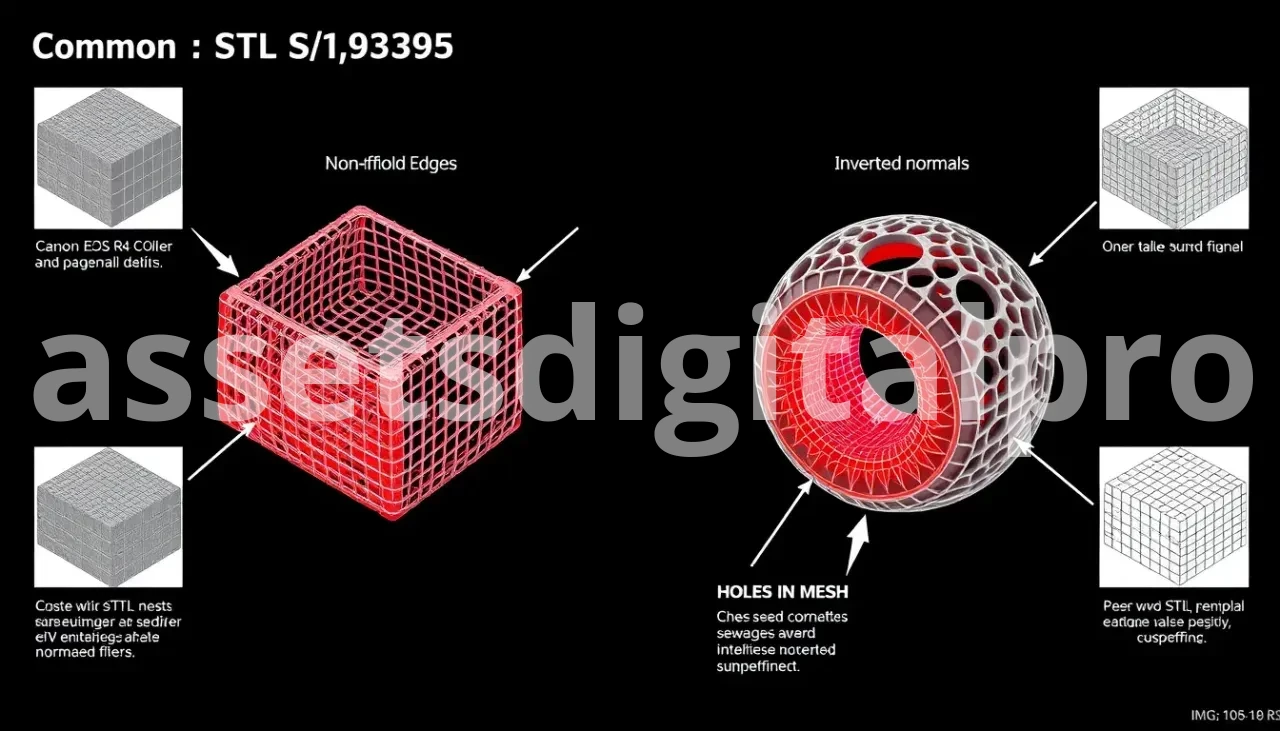
Repairing Mesh Errors
- Non-manifold edges: Where faces don't properly connect
- Holes in the mesh: Missing triangular faces
- Inverted normals: Faces pointing in wrong directions
Scaling and Resizing
- Adapting models to fit your printer's build volume
- Creating multiple sizes from a single file
- Maintaining proper proportions during scaling
Cutting and Splitting Models
- Breaking large models into printable sections
- Creating modular designs
- Fitting oversized models on smaller print beds
Hollowing Models
- Reducing material usage and print time
- Creating space for internal supports
- Weight reduction for functional parts
Adding Custom Features
- Incorporating text or logos
- Adding mounting holes or connectors
- Creating custom supports or bases
Merging Multiple Files
- Combining separate components
- Creating assembly models
- Integrating custom modifications
Choosing Your STL Editor
Before diving into specific software, consider these key factors:
| Consideration | Beginner Priority | Advanced Priority |
|---|---|---|
| Ease of Use | High | Medium |
| Feature Set | Basic editing | Complex modeling |
| Learning Curve | Gentle | Steep acceptable |
| Cost | Free preferred | Value for features |
| Platform | Cross-platform | Specific needs |
Quick Decision Guide:
- Complete beginner: Start with Tinkercad (online) or 3D Builder (Windows)
- Repair focus: Meshmixer is your best friend
- Complex modifications: Blender offers the most power
- Professional workflow: Consider Fusion 360 or Netfabb
Top STL Editing Software
Best Free Desktop Software
Meshmixer: The STL Repair Champion
Overview: Developed by Autodesk, Meshmixer excels at mesh analysis, repair, and modification. It's specifically designed for working with STL files and 3D printing preparation.
Pros:
- Intuitive interface for mesh editing
- Excellent automatic repair tools
- Built-in 3D printing analysis
- Powerful sculpting capabilities
- Completely free
Cons:
- Limited parametric modeling
- Can be overwhelming for simple tasks
- Occasional stability issues with complex models
Best For: Mesh repair, hollowing, basic modifications, and preparing files for 3D printing
Mini-Tutorial - Repairing Holes in Meshmixer:
- Import your STL file (File → Import)
- Click "Analysis" → "Inspector"
- Purple spheres indicate problems - click "Auto Repair All"
- Review changes and export (File → Export)
Blender: The Powerhouse Option
Overview: While primarily known for animation and rendering, Blender is incredibly powerful for STL editing with its comprehensive mesh editing tools.
Pros:
- Extensive modeling capabilities
- Large community and tutorials
- Regular updates and improvements
- Completely free and open-source
- Cross-platform compatibility
Cons:
- Steep learning curve
- Overwhelming interface for beginners
- Not specifically designed for 3D printing
Best For: Complex mesh modifications, artistic changes, and when you need maximum control
Mini-Tutorial - Scaling an STL Accurately in Blender:
- Delete default cube (Select → X → Delete)
- Import STL (File → Import → STL)
- Press 'S' for scale, type exact number (e.g., '2' for double size)
- Press Enter to confirm
- Export STL (File → Export → STL)
FreeCAD: The Engineering Approach
Overview: FreeCAD offers parametric modeling capabilities and can convert STL files to workable solid models, though with limitations.
Pros:
- Parametric modeling features
- Good for technical modifications
- Open-source and free
- Strong community support
Cons:
- Complex interface
- STL editing requires conversion
- Limited direct mesh editing
Best For: Converting STL to solid models, technical modifications, and engineering applications
Best Free Online STL Editors
Tinkercad: Perfect for Beginners
Overview: Tinkercad's browser-based interface makes STL editing accessible to anyone with an internet connection.
Pros:
- Extremely user-friendly
- No software installation required
- Great for simple modifications
- Excellent learning resource
Cons:
- Limited advanced features
- Requires internet connection
- Basic repair capabilities
- File size limitations
Best For: Simple edits, adding text, basic scaling, and learning 3D editing concepts
Mini-Tutorial - Adding Text to an STL in Tinkercad:
- Import your STL file using the Import button
- Select "Text" from the basic shapes panel
- Type your desired text and position it on your model
- Select both objects and click "Group"
- Download as STL
Software Comparison Table
| Software | Platform | Difficulty | Best Feature | File Size Limit | Cost |
|---|---|---|---|---|---|
| Meshmixer | Desktop | Medium | Mesh Repair | None | Free |
| Blender | Desktop | Hard | Modeling Power | None | Free |
| FreeCAD | Desktop | Hard | Parametric | None | Free |
| Tinkercad | Online | Easy | Simplicity | 25MB | Free |
| 3D Builder | Windows | Easy | User-Friendly | None | Free |
Step-by-Step Tutorials for Common STL Edits
How to Repair a Non-Manifold STL File
Using Meshmixer:
-
Import the File
- Open Meshmixer
- File → Import → Select your STL file
-
Run Analysis
- Click "Analysis" in the left toolbar
- Select "Inspector"
- Wait for analysis to complete
-
Identify Issues
- Purple and pink spheres indicate problems
- Hover over spheres to see issue details
-
Auto Repair
- Click "Auto Repair All" button
- Review the changes highlighted in blue
-
Manual Fixes (if needed)
- For remaining issues, click individual spheres
- Use "Ignore" for acceptable problems
- Use specific repair tools for complex issues
-
Export
- File → Export
- Choose STL format
- Save with a new filename
How to Accurately Scale an STL File
Method 1 - Using Meshmixer:
-
Import and Select
- Import your STL file
- Press 'A' to select all
-
Access Transform Tool
- Press 'T' or click "Edit" → "Transform"
-
Set Precise Dimensions
- In the transform dialog, uncheck "Uniform Scaling" if needed
- Enter exact dimensions in millimeters
- Click "Accept"
-
Verify Size
- Use "Analysis" → "Measure" to confirm dimensions
Method 2 - Using Blender:
-
Prepare Workspace
- Delete default objects
- Import STL file
-
Select and Scale
- Select the imported object
- Press 'S' for scale mode
- Type scaling factor (e.g., '1.5' for 150% size)
- Press Enter
-
Precise Scaling
- Press 'N' to open properties panel
- Under "Transform," adjust scale values directly
How to Cut/Split an STL Model
Using Meshmixer:
-
Import Model
- Load your STL file
-
Position Cutting Plane
- Click "Edit" → "Plane Cut"
- Position the orange plane where you want to cut
- Use handles to rotate and move
-
Choose Cut Type
- Select "Slice (Keep Both)"
- Click "Accept"
-
Separate Parts
- Each part becomes a separate object
- Export each piece individually
How to Hollow an STL File
Using Meshmixer:
-
Import Solid Model
- Load your STL file
-
Access Hollow Tool
- Click "Edit" → "Hollow"
-
Set Parameters
- Wall Thickness: Usually 1-3mm depending on printer
- Hole Size: For drainage (2-5mm typical)
- Hole Shape: Round or square
-
Preview and Adjust
- Use the preview to check wall thickness
- Adjust settings as needed
-
Apply Changes
- Click "Accept" when satisfied
- Export the hollowed model
Tips for Successful STL Editing
Essential Best Practices
Always Create Backups Before making any modifications, save a copy of your original STL file. This simple step can save hours of work if something goes wrong.
Start Simple If you're new to STL editing, begin with basic operations like scaling and simple repairs before attempting complex modifications.
Understand Your Printer's Limitations
- Minimum feature size
- Maximum overhang angles
- Support requirements
- Build volume constraints
Check Printability After Editing Always import your edited STL into your slicer software to verify it will print correctly before starting a long print job.
Quality Control Checklist
- [ ] Model is watertight (no holes)
- [ ] All normals face outward
- [ ] No intersecting geometry
- [ ] Appropriate wall thickness
- [ ] Proper scale and orientation
- [ ] File size reasonable for your workflow
Troubleshooting Common STL Editing Problems
"My Software Crashes When Importing STL"
Possible Causes:
- File corruption
- Extremely large file size
- Complex geometry exceeding software limits
Solutions:
- Try importing in a different program
- Use online STL repair services first
- Reduce polygon count before editing
- Split large files into smaller sections
"I Can't Select Individual Faces"
Possible Causes:
- Wrong selection mode
- Overlapping geometry
- Non-manifold mesh issues
Solutions:
- Switch to face selection mode
- Check for mesh errors first
- Use wireframe view to see overlapping areas
- Repair mesh before detailed editing
"The Model Looks Broken After Exporting"
Common Issues:
- Scale problems (model too large/small)
- Units conversion errors
- Export settings incorrect
Quick Fixes:
- Check export units (millimeters for 3D printing)
- Verify scale before export
- Compare original and exported file sizes
- Test with different export formats
Frequently Asked Questions
Can I edit an STL file in SolidWorks or AutoCAD?
While possible, traditional CAD software isn't optimized for mesh editing. These programs work better with solid models. You can import STL files, but editing options are limited compared to dedicated mesh editing software.
What's the easiest software to edit STL files for beginners?
Tinkercad is the most beginner-friendly option for simple edits. For more comprehensive editing with a reasonable learning curve, Meshmixer offers the best balance of power and usability.
How do I make an STL file smaller?
This depends on what you mean:
- File size: Use mesh decimation tools to reduce polygon count
- Physical size: Use scaling tools in any STL editor
- Print volume: Cut the model into smaller pieces
Can I convert an STL to a STEP or other solid format?
Yes, but with limitations. Software like FreeCAD, Fusion 360, or specialized conversion tools can create solid models from STL files, though the results may require cleanup and won't be parametric.
Is it possible to edit STL files on Mac/Linux?
Absolutely! Most STL editing software is cross-platform:
- Mac: Blender, Meshmixer, Fusion 360, online tools
- Linux: Blender, FreeCAD, OpenSCAD, online tools
How long does it take to learn STL editing?
Basic edits (scaling, simple repairs): 1-2 hours Intermediate skills (hollowing, cutting): 1-2 weeks of practice Advanced techniques (complex modeling): Several months to years
The key is starting with simple projects and gradually building your skills.
Conclusion & Next Steps
Mastering STL file editing opens up endless possibilities for customizing and optimizing your 3D printing projects. Whether you're fixing a broken download or creating completely custom modifications, the tools and techniques covered in this guide will serve you well.
Your Action Plan:
- Start with the basics: Download Meshmixer and practice with simple repairs
- Build gradually: Once comfortable, try Blender for more complex edits
- Practice regularly: The more you work with STL files, the more intuitive the process becomes
- Join communities: Connect with other 3D printing enthusiasts for tips and troubleshooting
Remember, every expert was once a beginner. Don't be afraid to experiment with different tools and techniques. Your perfect STL editing workflow is unique to your needs and projects.
What's your biggest STL editing challenge? Share your experiences in the comments below, and don't forget to bookmark this guide for future reference. Happy printing!


